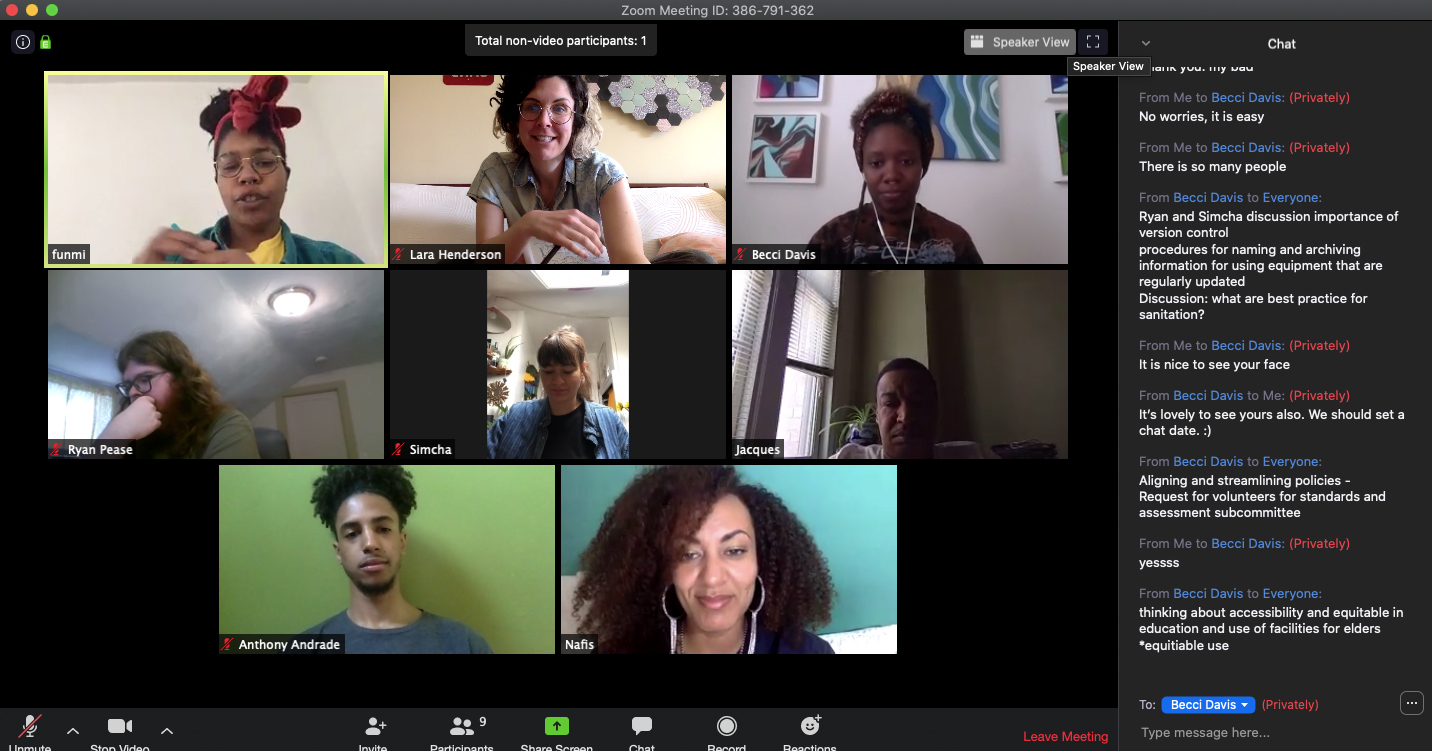
Zoom
add Zoom to myCourses
allows for additional functionality
breakout rooms
Allows you to break students up into groups to achieve a more ideal class size. Can be done manually or automatically. It also has pretty decent memory, for example it will remember groups after a break or commonly paired students.
Share screen
- use phone as a second screen
- portable camera document or sketchbook sharing
White board
Allows you to share a whiteboard that you and other participants, great for brainstorming or quick drawings. Is collaborative, so other people can add to it and you can see their names displayed as they draw
remote control
Allows you to take control of another participant’s screen in a meeting. Ask which students have never used it before, pair them up so that they can adjust their privacy settings and practice controls.
Polling
Polling your class is a great way to collect information. I like to do an exit survey at the end of a week to see what students reacted to most strongly. I find that it helps inform the week ahead. I suggest using microsoft formsor google forms for surveys.
Both Slack and Zoom have built in polling, but they are intended more for gathering quick responses and sharing them with the group. In order to build a poll in Zoom, you have to create a meeting in advance. Next you log into the application through your web browser, find the meeting, and create a poll.
Slack
Students need a way to stay in touch out of class. I suggest Slack. Slack offers features, including chat rooms organized by topic, private groups, and direct messaging.
Slack is a helpful tool for students to learn as it is widely used in creative professions. It allows for sorting of conversations. For example, you can create a channel called “in process work” where students post their work in development.
Use channels to host for small group discussions, process critiques and talking/texting with students individually more casually during non class time.
Youtube
- post your lectures as video content
- host live stream
- create playlists, themed videos in order
- premieres – allows viewers to watch a new video together. More of an event, they can be compared to the premiere of a movie or television program.
- class, assignment or cohort hashtag
- group messaging to share content
- students can save “collections” as inspiration and share it via screen share
- follow each other’s accounts for community building
Course suggestions
1. Establish highly regular course structure
- post content and meet at regular times
- students are taking five of these types of courses. Structure allows students to focus & build routine
- Have everything in one place
- myCourses, central location
- see all upcoming zoom meetings
- grades
- links to course content
- links to an external website or post content directly on my courses
- you can see which students are engaging with content
- myCourses, central location
- Give students an agenda and learning objectives at the beginning of class. This gives students a clear idea of how the class will progress, what will be covered, and the activities they’ll engage in and why they are important
- Virtual course tour
- Create a short video that explains your course and its structure
2. Use email minimally
- keep emails short and simple
- put important information or dates/times in bold lettering
- create meetings in zoom or outlook so that students will receive reminders
- do not place course content in an email. Emails should direct students to a document
- establish correspondence boundaries with your students, for example, “I respond to emails on weekdays”
- be reliable, consistent and available
3. Post course content in a clear, easy to navigate way
After you have built out your myCourses page, make a short video explaining the logic of how things are organized.
- Pre-record lectures and offer a youtube premier or optional live session where:
- students can ask questions
- post comments and links
- polling for conversation
- Live recordings on youtube (or screencaster)
- tends to feel more natural as it is done for a live audience, can answer questions and respond to comments
- recording are available later for students asynchronously
- it is the most popular video sharing platform, so viewership is high
4. Keep meeting sizes small and short
- Limit group video calls to 30 – 40 min. 60 min is pushing it
- Most effective group size is to 4 – 6 students
- allows each student time to talk
- easier for focus and for people with slower internet connections
Ways to reach the effective group size:
- Have everyone meet at the same time, and place them into breakout rooms for group work, and visit each room on a schedule
- Create staggered appointments for students
5. Offer 10 – 15 minute video calls during office hours
- In your email signature, put a link to a document to sign up for virtual office hours
- It is important that the personal connection remains as students will say things 1:1 that they are unlikely to say otherwise
6. Collaboration is key
Collaboration between students is crucial to success. Build in collaborative assignments, learning tasks, etc. Relying on small group critiques won’t be enough, students have to work together on something.
Google Classroom
- easy to use
- simple interface, great for visual people
- has a feature where students can “turn in” images of their assignment. You can also use a class drive for this too.
- classroom sends reminders/notifications to students about due dates.
- students can post things and comment in classroom, although students tend to prefer Slack
